Shop setup / Tool review
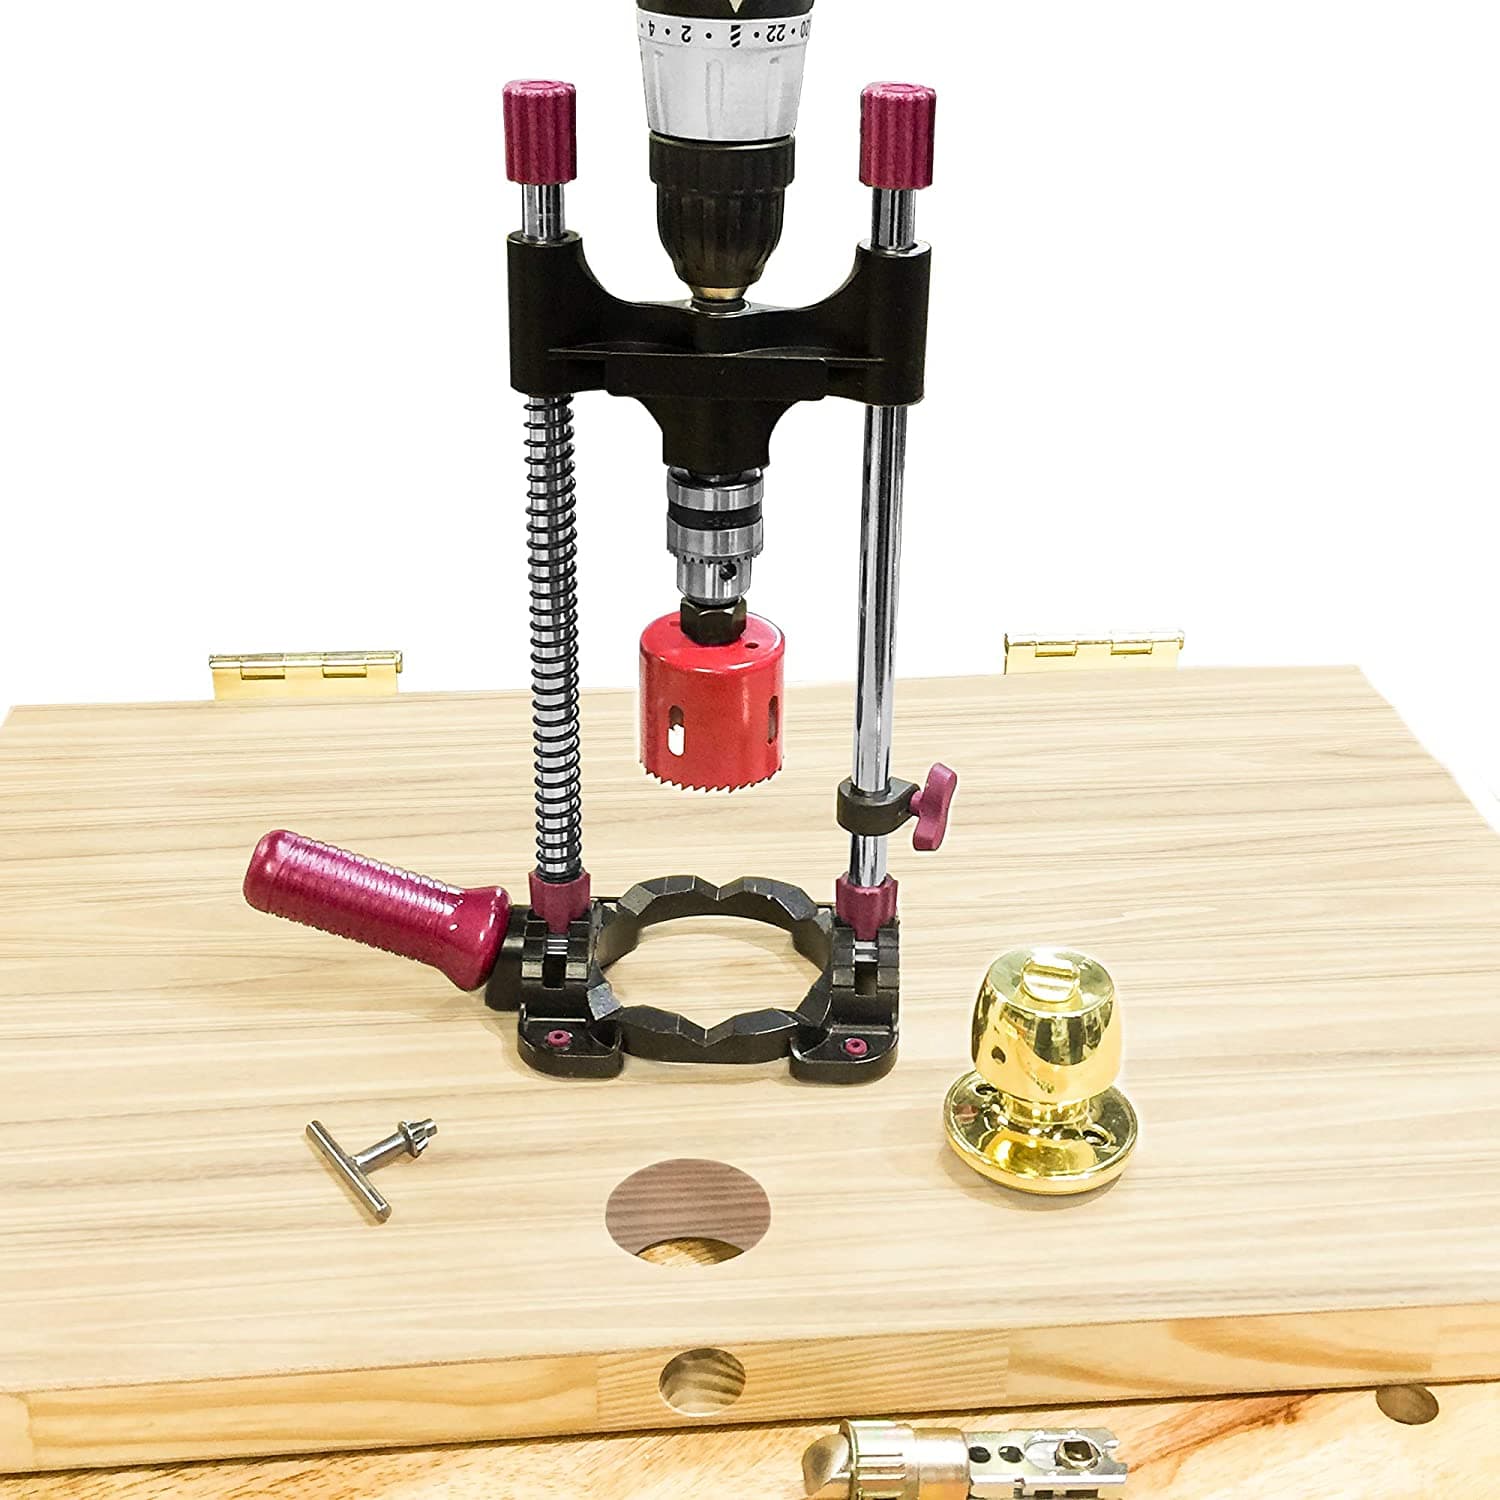
Milescraft DrillMate review: a guide for straighter holes
Where a portable drill guide helps—and where a drill press still has the advantage.
Read the guide : Milescraft DrillMate review: a guide for straighter holesBuild a useful woodworking kit, one project and one considered purchase at a time.
A project-led workshop planning guide, updated September 7, 2026. Product-specific advice is linked to the relevant reviews and buying guides.
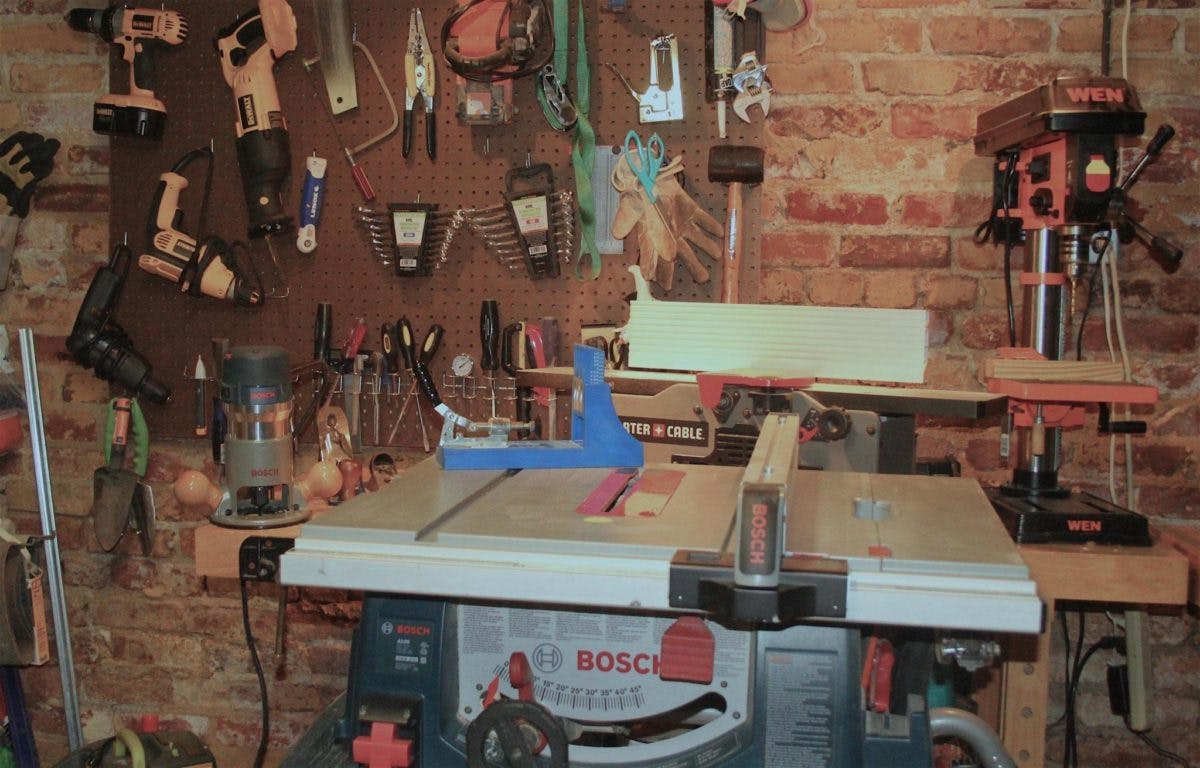
Build your woodworking kit around a project you can finish. A shelf, simple box or small bench reveals what you need to measure, cut, hold, join and smooth. Buying every major machine first ties up money and space before you know which work you enjoy.
Start with a tape or rule, a reliable square, a marking tool, appropriate clamps and a stable work surface. Workholding is part of the tool system: plan where the board rests, how it is secured and where the offcut goes before making a cut.
Add eye and hearing protection appropriate to the tools you use, and plan dust control and ventilation for the work. These items belong in the initial budget. Leave access to switches and enough clear floor space to move without stepping over cables or stock.
A handsaw and suitable guide can handle a small number of simple cuts. A circular saw with an appropriate guide can be useful for boards and sheet goods. Pick a method you can support and control safely, and learn it on spare material before cutting the project parts.
A miter saw is useful for repeated crosscuts but does not replace a way to rip boards or break down broad panels. A table saw can support other workflows but requires space, support and practice. Do not buy both automatically because a generic starter list includes them.
A drill/driver, suitable bits and a joining method matched to the project go a long way. Screws, dowels, pocket holes and traditional joints solve different problems; choose the joint first, then buy a jig only if it makes that operation easier to repeat.
If holding a drill at a consistent angle is the problem, read our Milescraft DrillMate guide. A portable guide can help within its limits, but it is not a substitute for every drill press operation or for securely supporting the work.
A sanding block and an appropriate sequence of abrasives may be enough for a small project. A random-orbit sander can reduce repetitive work, but still needs compatible dust collection and sensible technique. It will not flatten every defect simply by using a coarse disc longer.
Choose the finish for the object’s use and follow the product’s application, ventilation and disposal instructions. Include consumables in your budget: abrasives, glue, fasteners and finishing supplies are part of completing a project.
Buying prepared lumber can postpone milling equipment. Paying a supplier to make initial cuts can also make an occasional large project manageable. Neither choice prevents you from building woodworking skills.
Write a short list of what the next project requires, what you already own and what you can borrow. Reserve money for stock and mistakes instead of spending the entire budget on machines. Compare complete packages: batteries, chargers, stands and blades may be separate.
Used tools can make sense when you can inspect them and identify replacement parts. Missing guards or a damaged fence can turn a bargain into a poor purchase. For one common used option, our Bosch 4100 inspection guide covers what to ask before making the trip.
A useful workshop grows from finished projects and recurring needs. It does not need to contain every tool in a catalog.
Where a portable drill guide helps—and where a drill press still has the advantage.
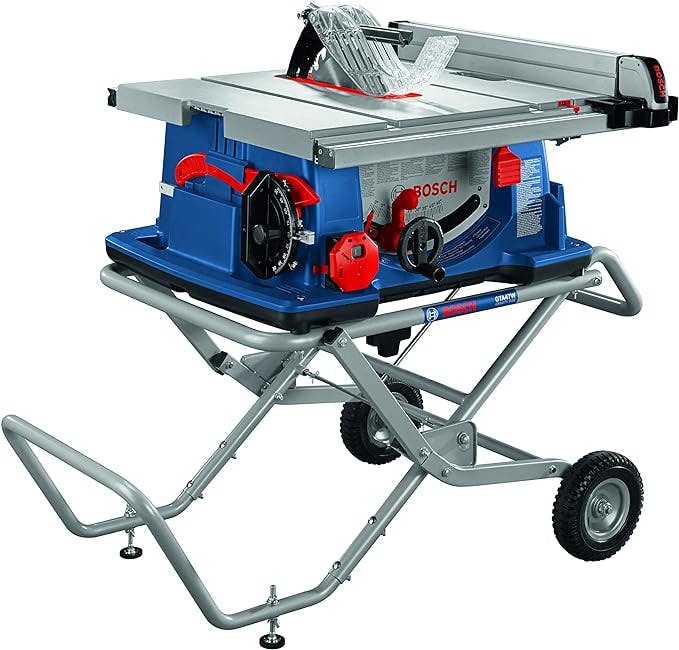
Read the guide : Milescraft DrillMate review: a guide for straighter holesFence quality, capacity, stands, and the trade-offs behind a $500 saw budget.
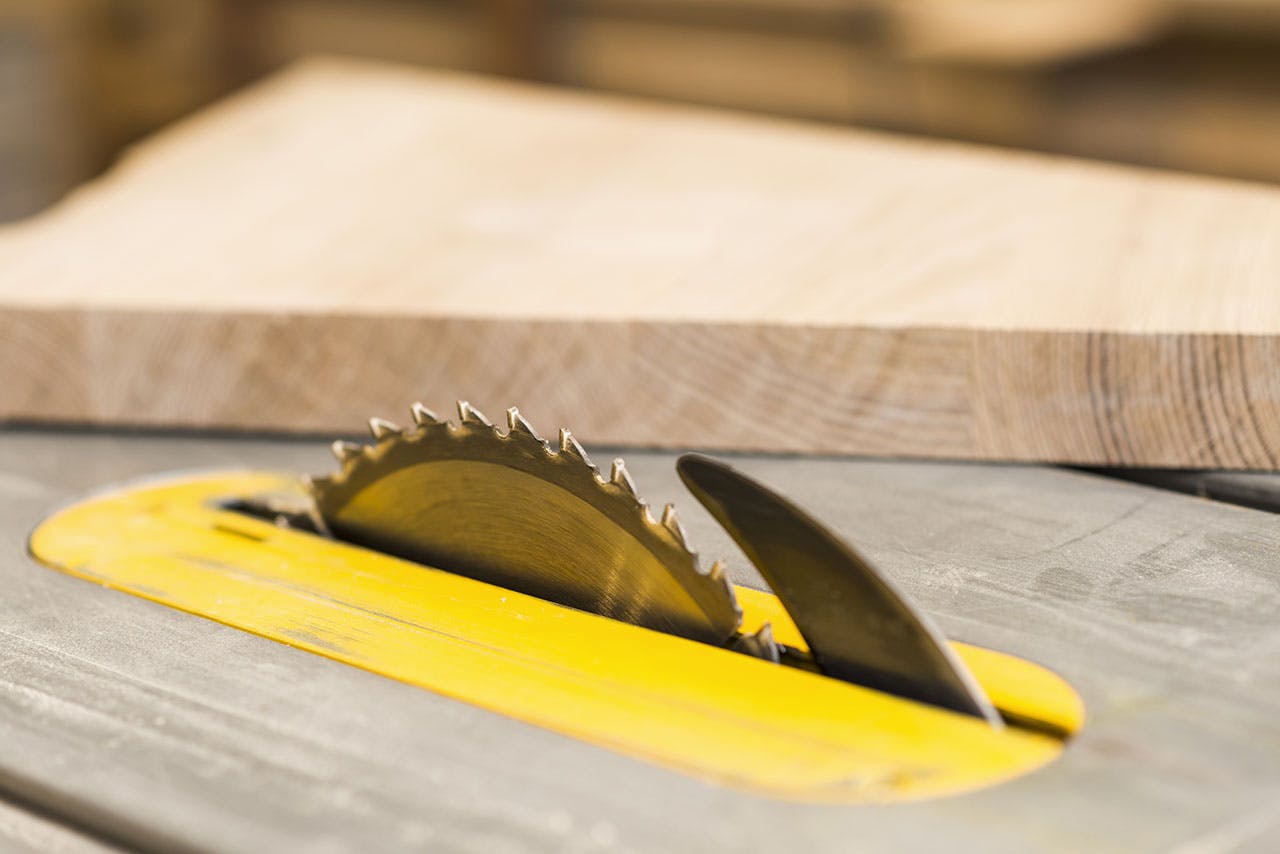
Read the guide : Buying a table saw with a $500 budgetStart with compatibility, then choose for the material and cut you make most often.
Read the guide : Choosing a blade for the Bosch 4100